Getting started
Aide is the Open Source AI-native code editor. It is a fork of VS Code, and integrates tightly with the leading agentic framework on swebench-lite. On this page, you’ll find instructions on how to install Aide on your computer and get back to coding with AI superpowers.
Installation
Aide is lightweight and should easily run on today’s hardware. We distribute pre-build binaries for all major Operating Systems.
Supported on macOS Yosemite and later versions
Download from the websiteWhen updates are available, you will see a notification on the settings icon in the activity bar or the title bar. You can also check for updates manually by clicking on the settings icon and selecting “Check for updates…”.
Supported on Windows 10 and 11 (64-bit)
Download from the websiteWhen updates are available, you will see a notification on the settings icon in the activity bar or the title bar. You can also check for updates manually by clicking on the settings icon and selecting “Check for updates…”.
Just copy and run this command in your terminal:
curl -sL https://raw.githubusercontent.com/codestoryai/binaries/main/linux/linux_install.sh | bashWe’re still work on automated updates for Linux. At the time being, when there is an update available, you can just run the above command in your terminal to update the editor. All your data and settings will be retained.
Aide is supported on all Linux distros. Minimum requirements:
- GLIBCXX version 3.4.25 or later
- GLIBC version 2.28 or later
Setting up
Import settings, keybindings and extensions from VSCode/Cursor/Windsurf/VSCodium
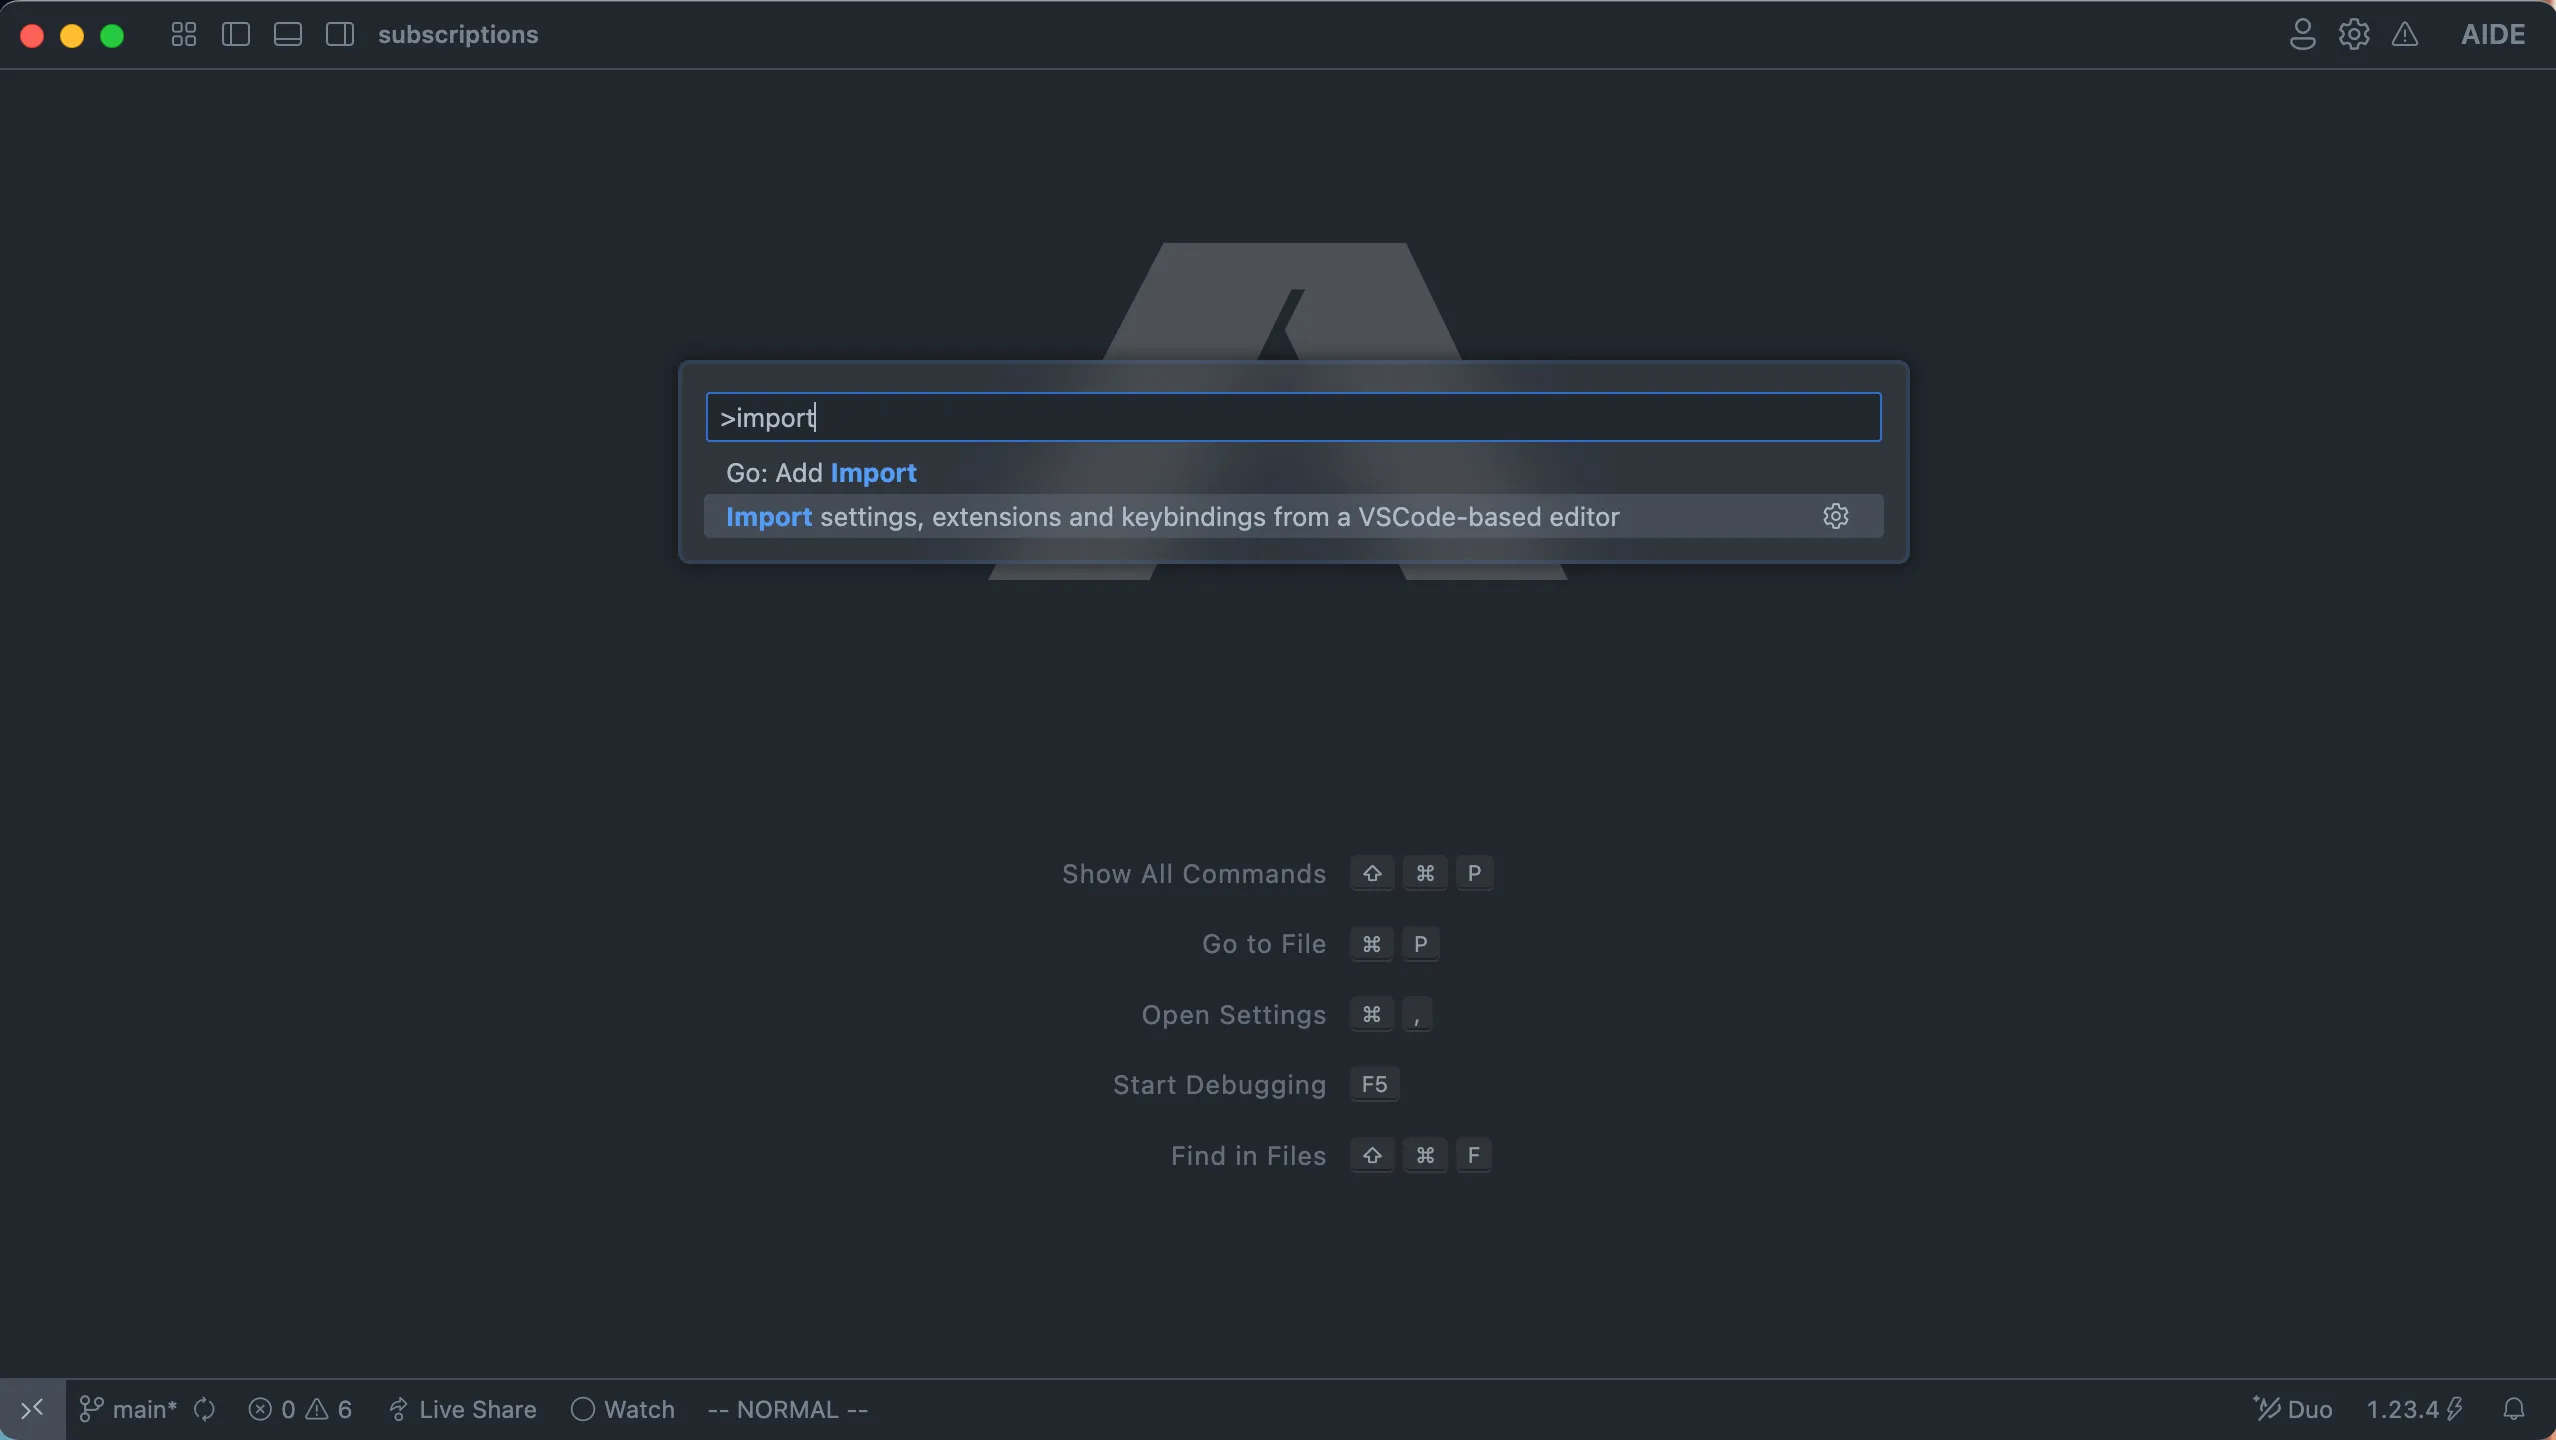
Aide supports importing all your settings and extensions from VSCode and it’s forks. In order to do so, use the command palette (accessed by pressing ⌘ + Shift + P on macOS and Ctrl + Shift + P otherwise) and search for ‘Import settings, extensions and keybindings from a VSCode-based editor’. Once you select this, Aide will give you the option to choose your previous editor, and start the import.


